How to Record Your Digital Keyboard
This is a tutorial on how to put together a video of yourself playing your digital keyboard.
When I first started recording, I noticed that the keys make a lot of noise, especially if you play chords. I wanted to record only the sound of my keyboard to cut out the background noise. I did a lot of searching and found that you cannot make your phone record just the sound of the keyboard while recording video at the same time.
This is a relatively low budget recording process after you have your keyboard, phone, and computer. This can be done with free recording and video editing software, plus cables to record the sound onto your computer.
This tutorial will show you how to record the keyboard and put it together with the video from your phone.
What you will need
In addition to your keyboard, phone, and computer, you will need:
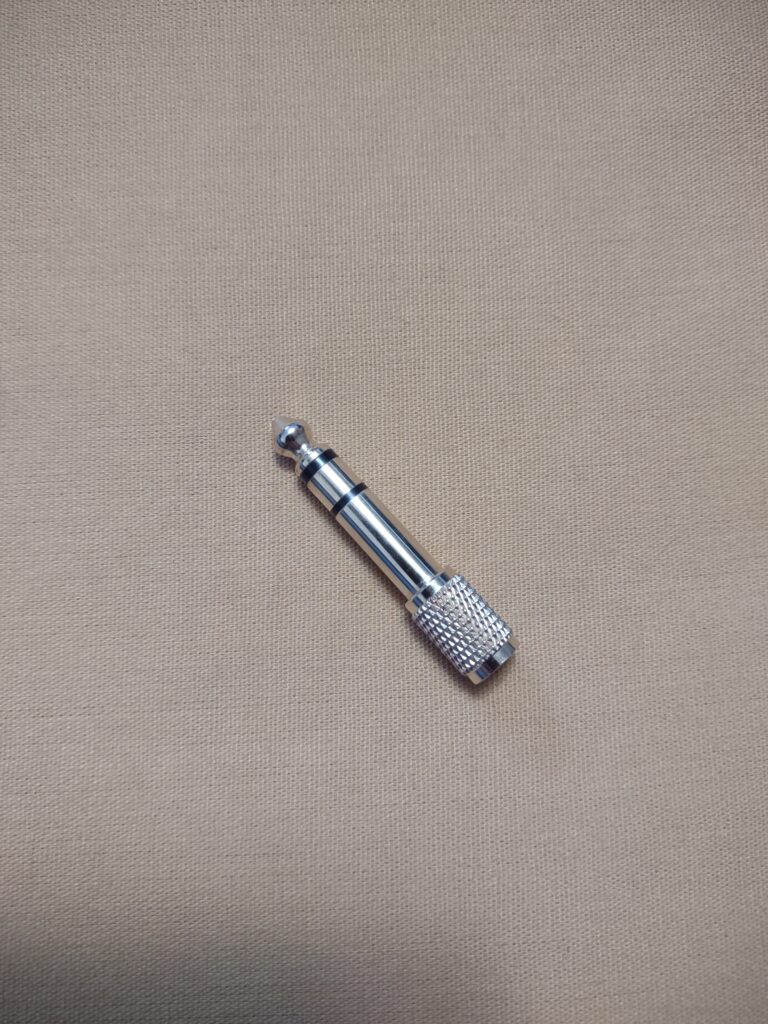
Optional:
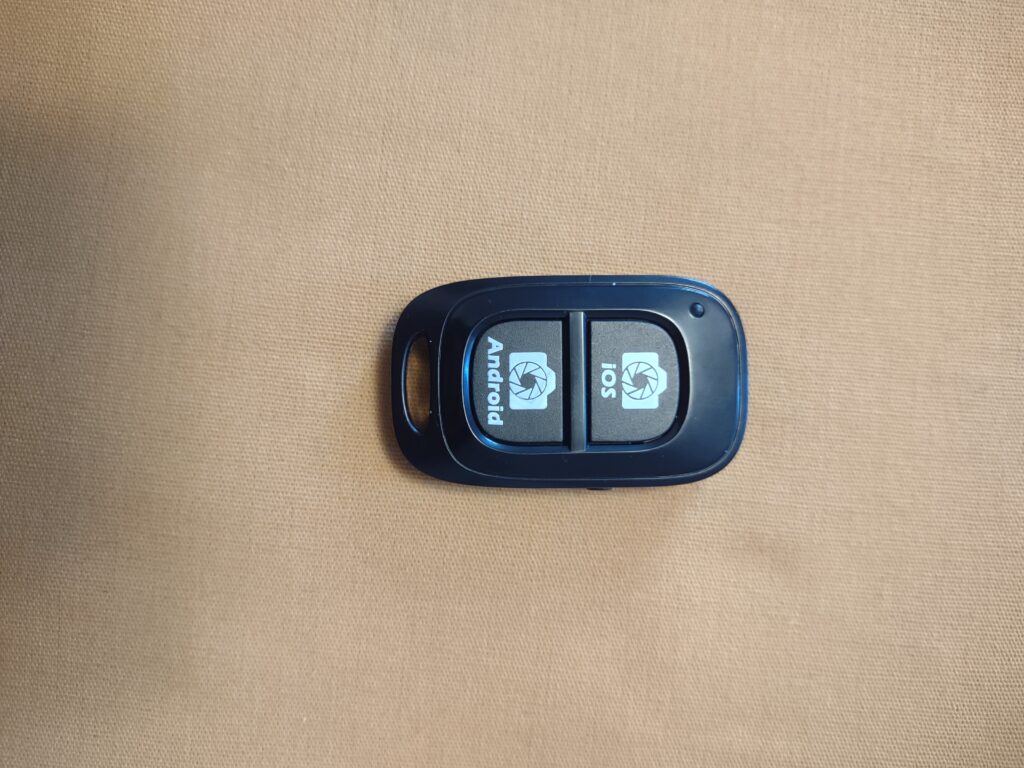
Tripod with remote
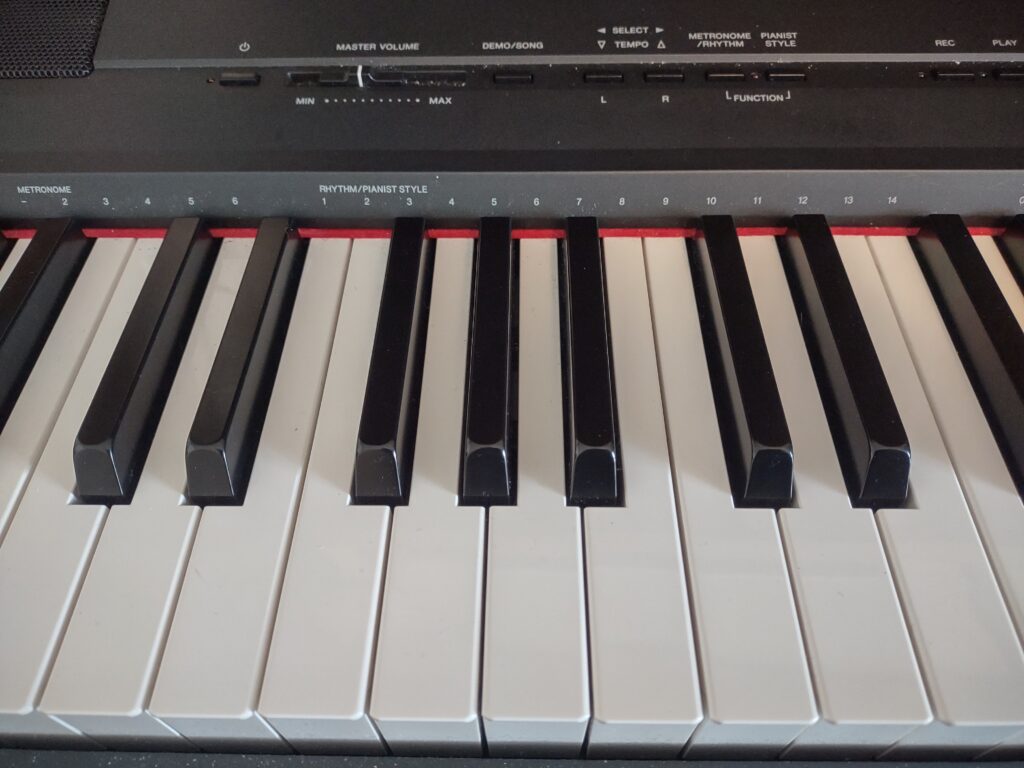
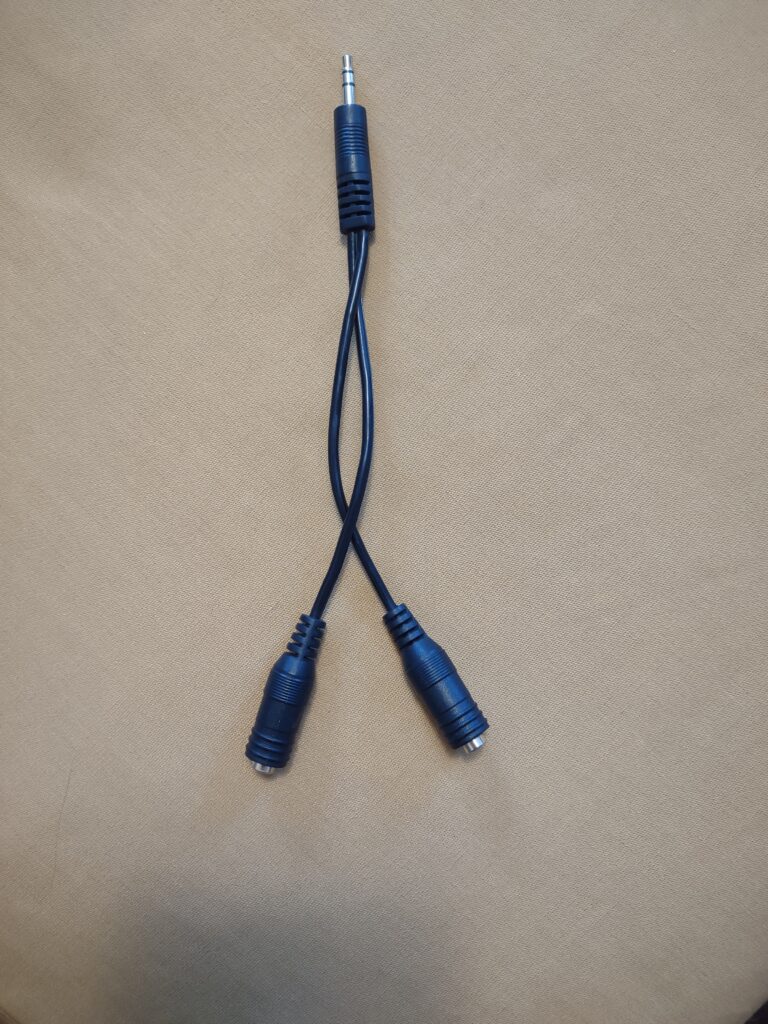
Step 1: Plug splitter cable into headphone port on piano keyboard

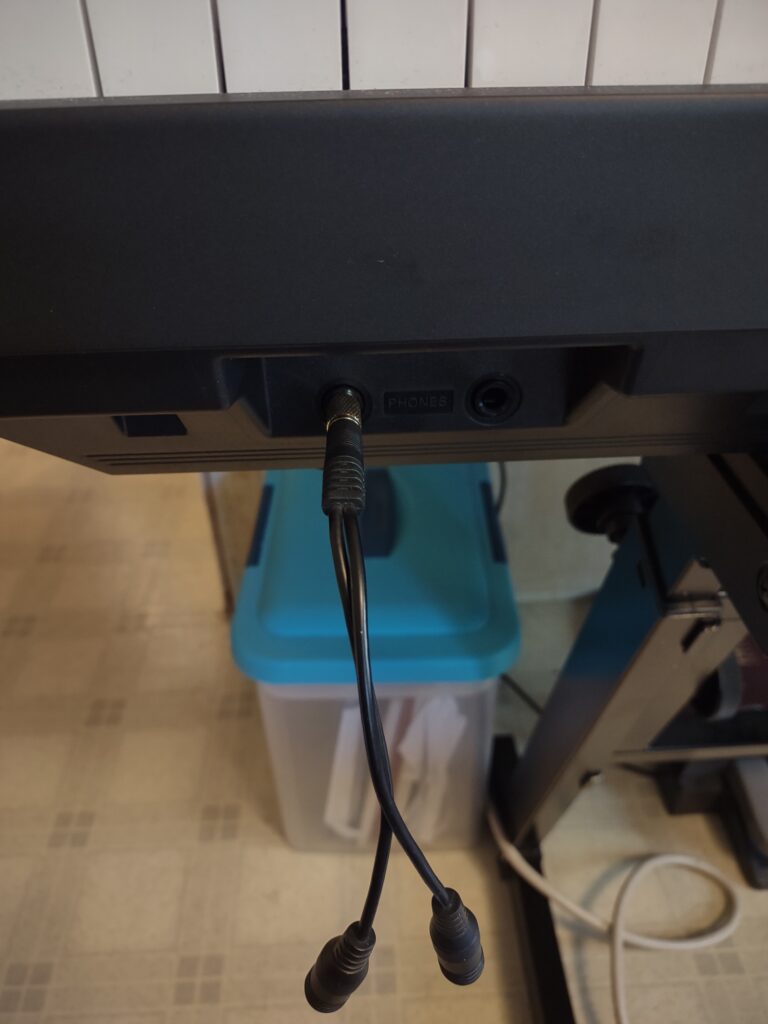
Plug the single end of the splitter cable into the headphone port so that the two ends are hanging out. On my keyboard this port is on the front.
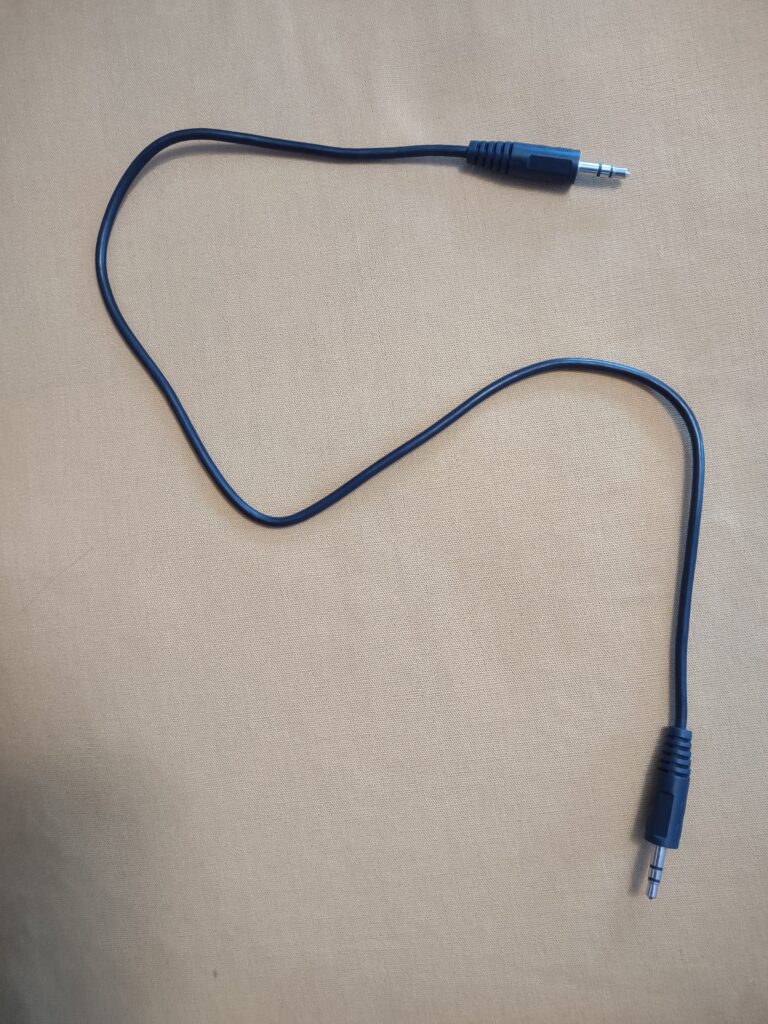
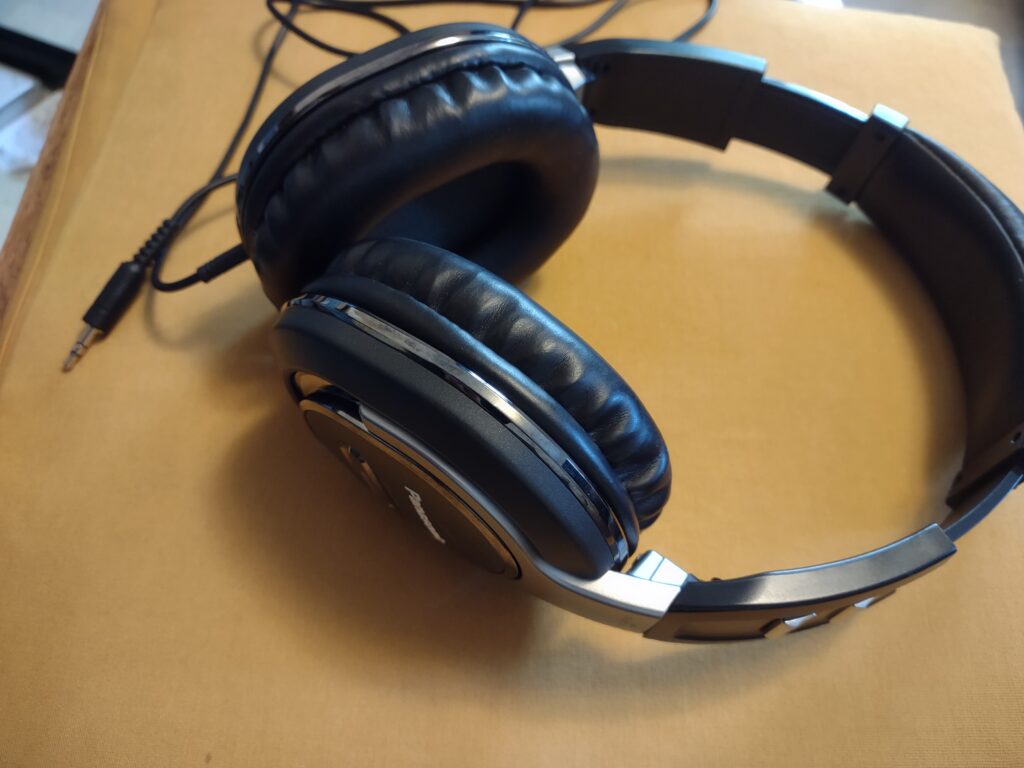
Step 2: Plug headphones and line in cable into into splitter cable
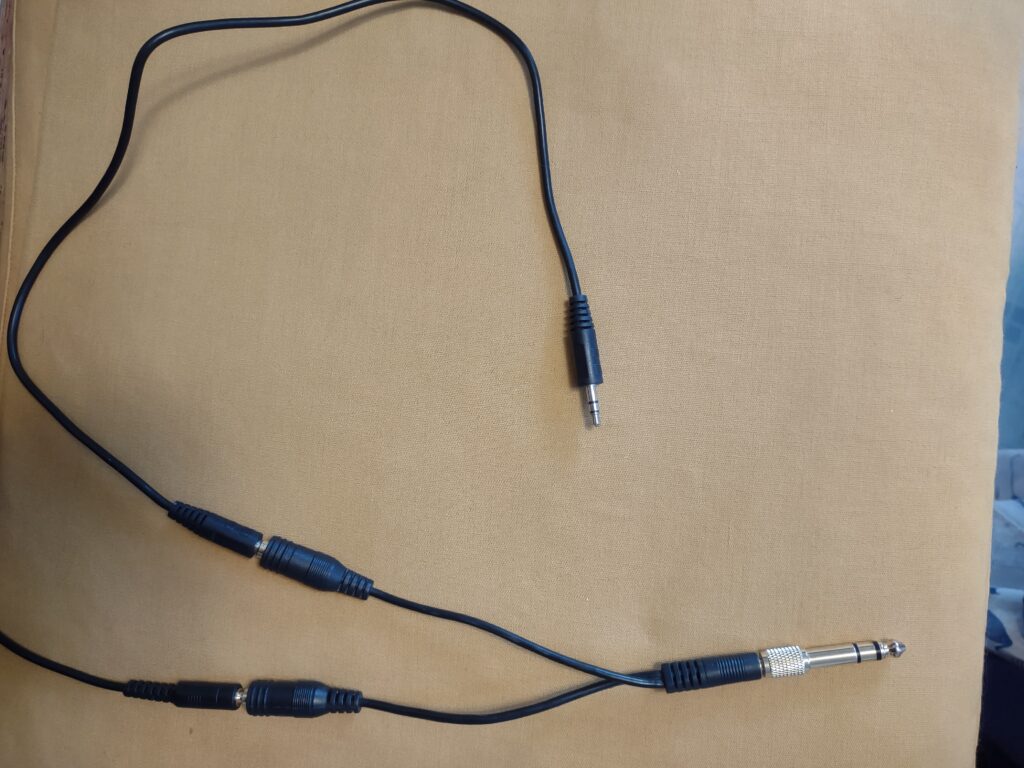
The line in cord will plug into one side of the splitter and the headphones will plug into the other. Make sure everything is fully plugged in, since anything slightly out of a port will not give you a full sound when recording.
This will allow you to hear what you are playing on the keyboard while you record on the computer.
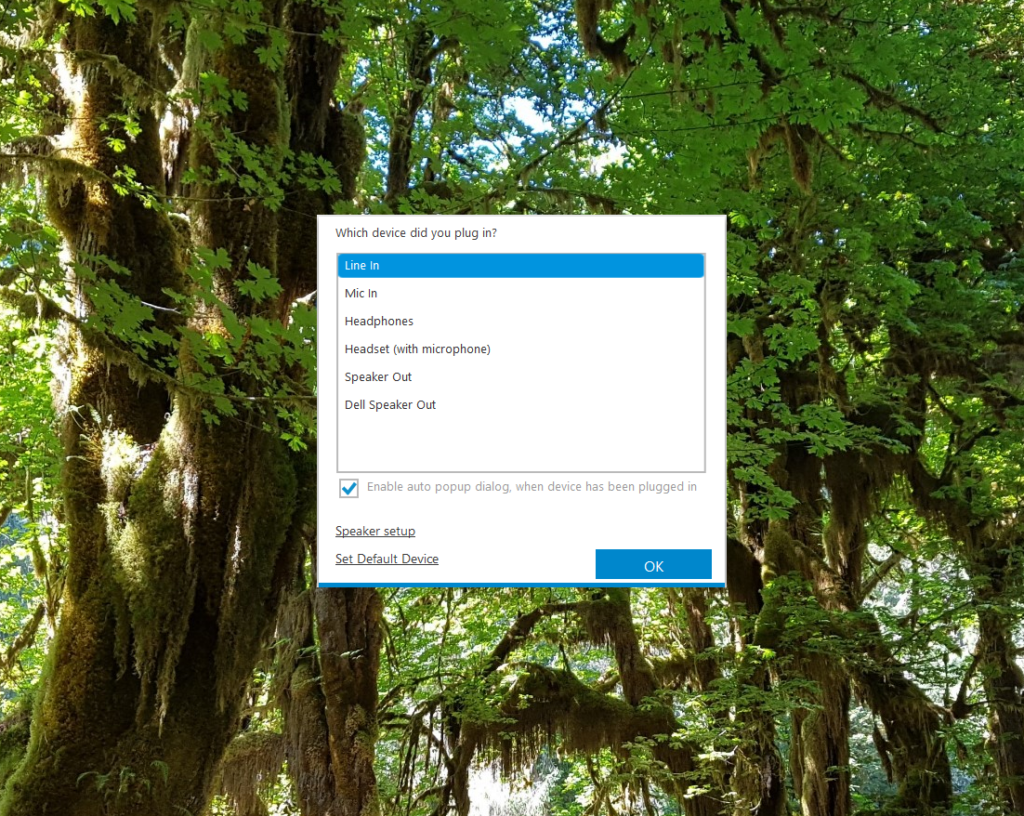
Step 3: Plug loose end of line in cord to computer headphone port
You will need your computer close enough to the keyboard for the loose end of the line in cable to reach the computer. My cable is fairly short so I have my computer close to the keyboard.
When you plug in the line in cable into the headphone port, a window will pop up (on Windows) and ask you how you want to use it. Select line in and click OK:
Step 4: Open Sound Recording Software
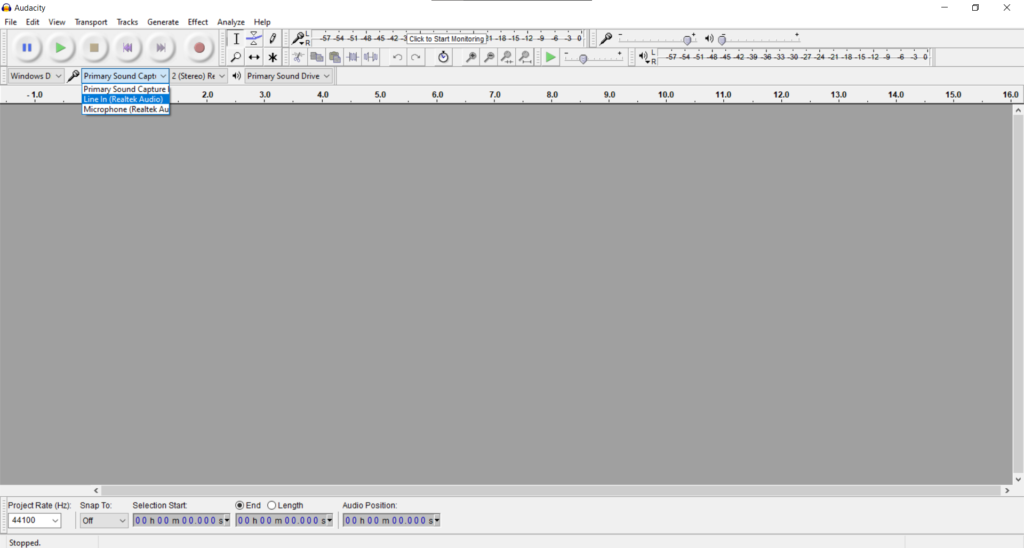
I use a free program called Audacity. To record the keyboard sound, select line in as the audio source. This will make it record the sound of the keyboard.
Step 5: Place your phone on a tripod at the angle you wish to record
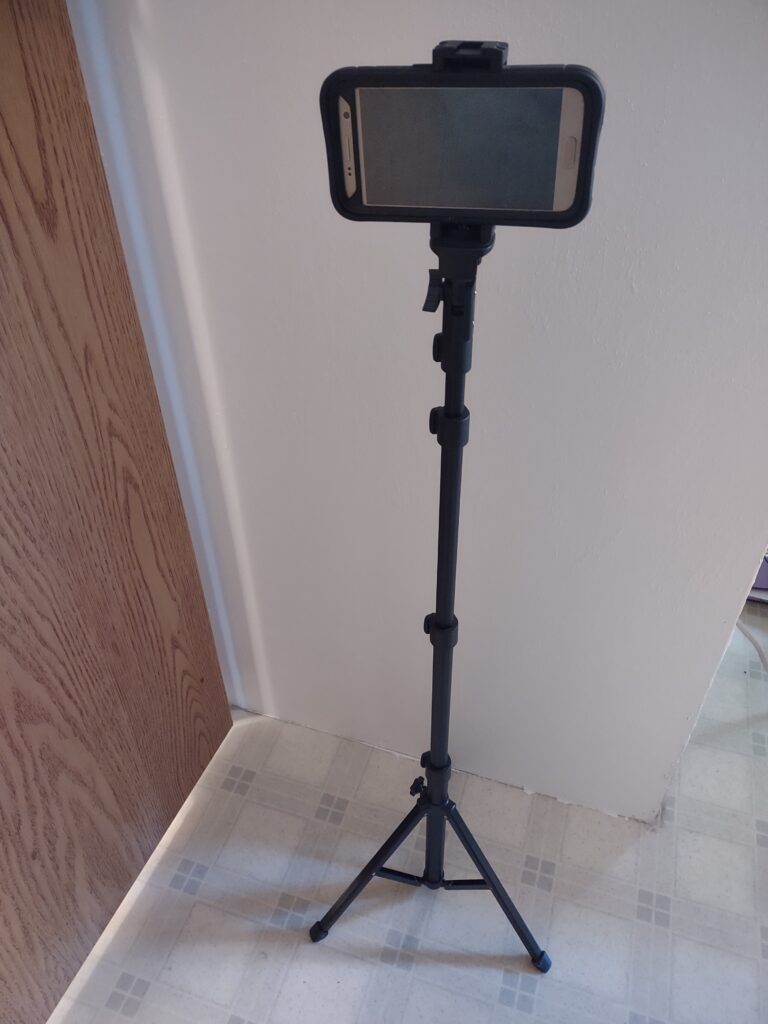
I use a tripod with a remote so I can hit record at the same time as the computer. I used to put it on the keyboard but this was problematic for pieces that need the whole keyboard.
Step 6: Record the sound and video at the same time
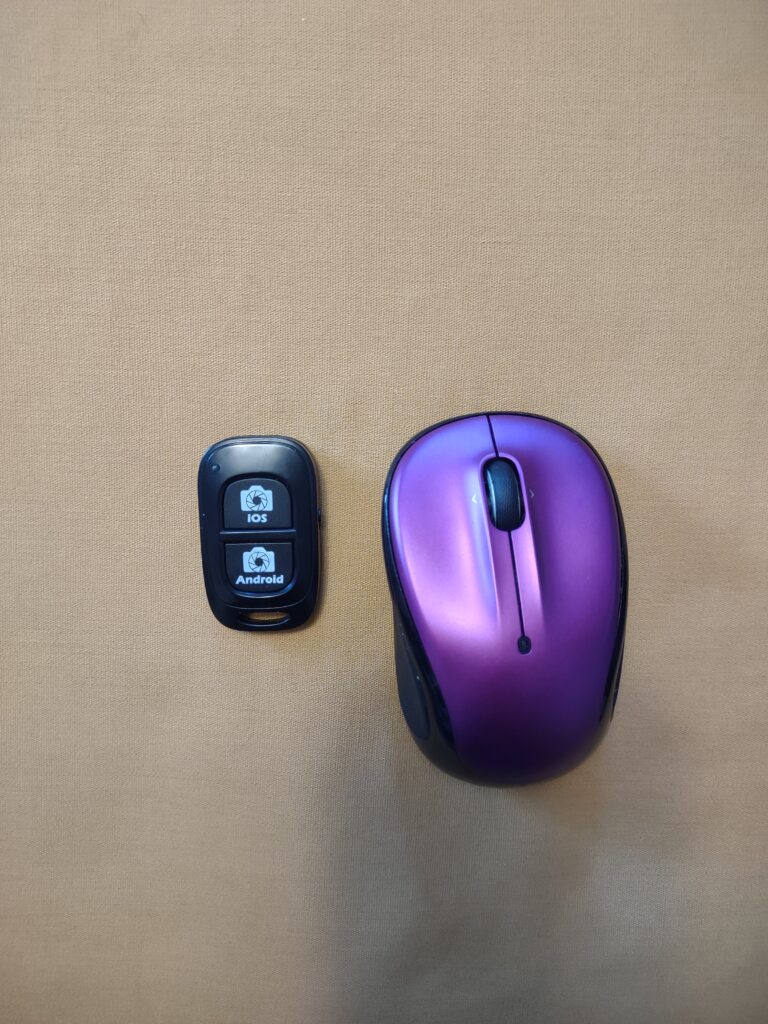
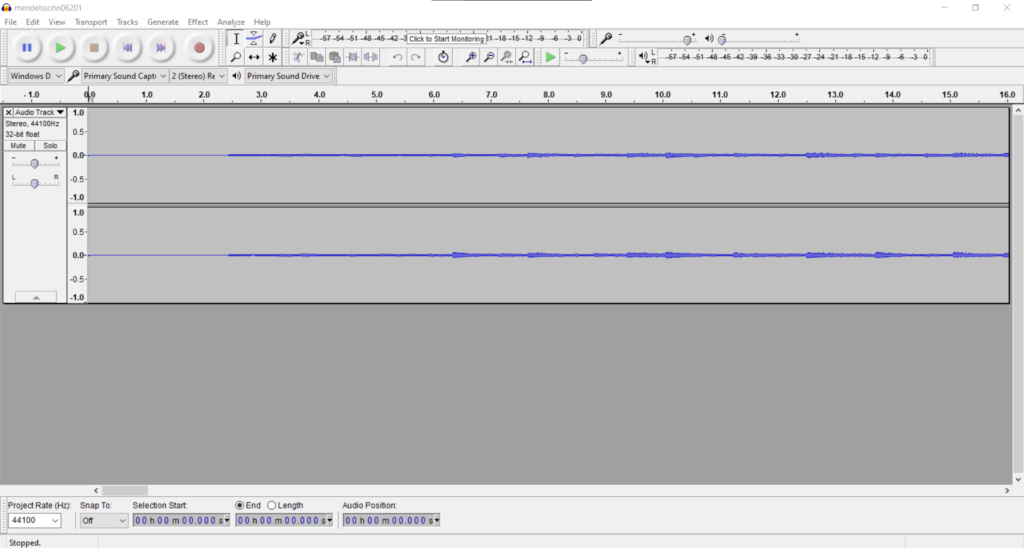
If you have your phone on a tripod with a remote, you can now hit record on the remote and click the record button in your sound recording software at the same time. This will record the audio on your computer and the video on your phone at the same time.
Play your piece or song. An audio track will appear when you hit record:
Export the audio to a .wav file when you’re done recording:

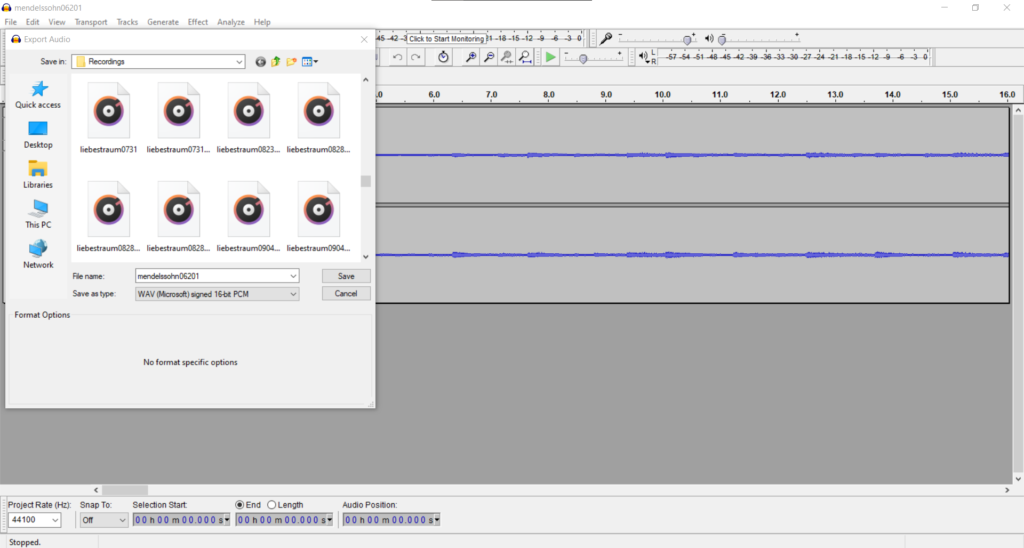
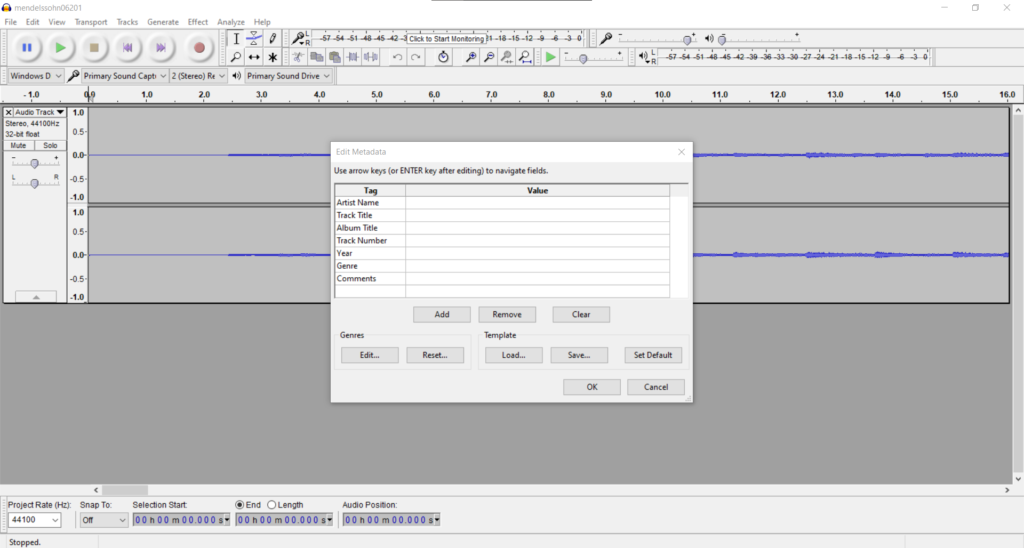
For this type of video, you don’t really need to save the audio as a project unless you might need to go back and edit the audio.
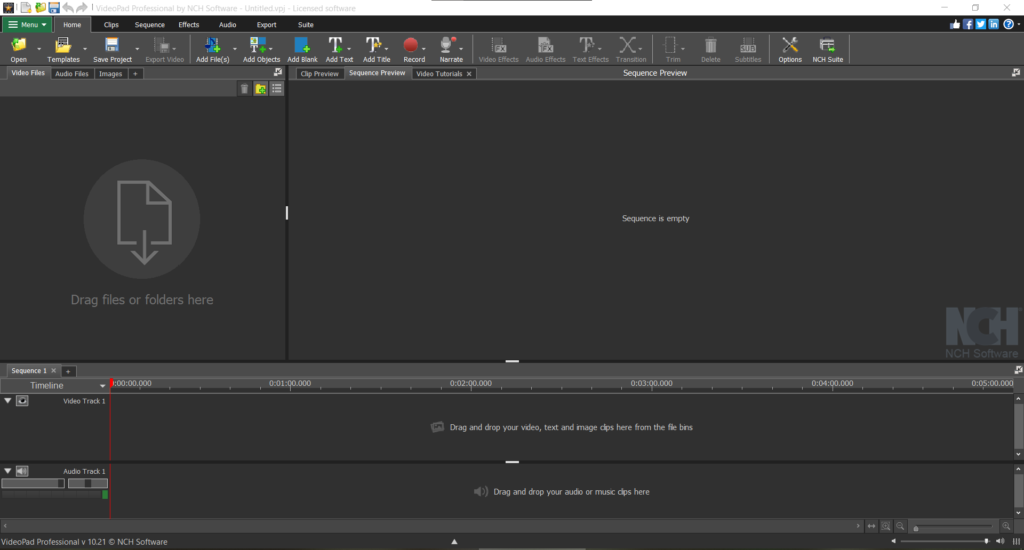
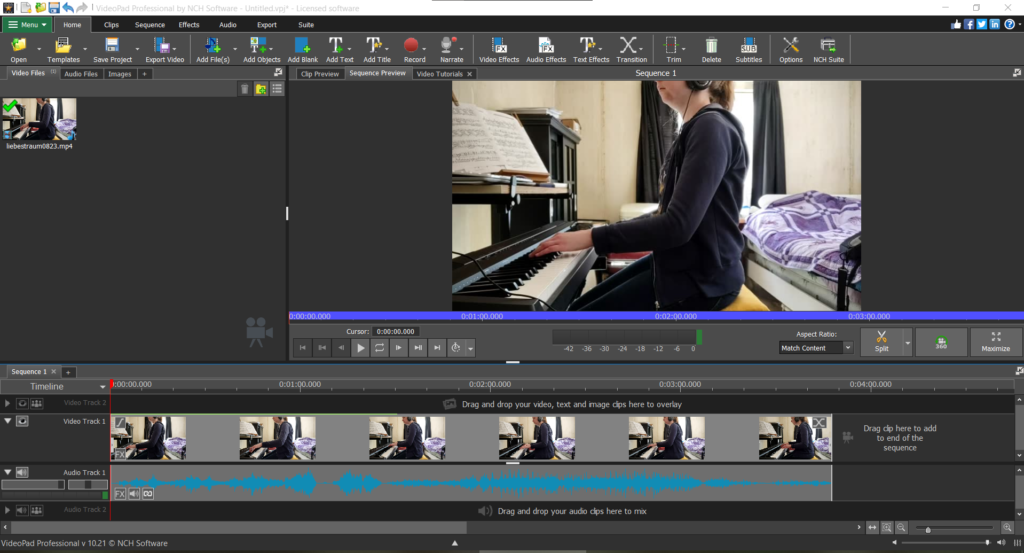
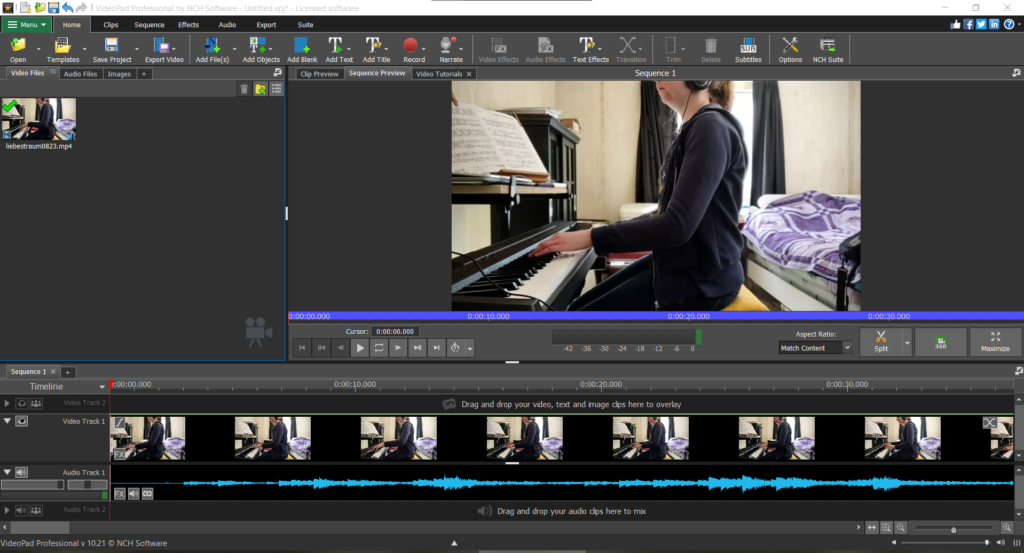
Step 7: Upload both files to video editing software and edit
I currently use VideoPad Video editor to edit my videos. It is not free but it is also not super expensive, and may have a free trial when you first download. In this program you can get very precise and move the video and audio around to sync together.
I used to use Windows Media Player to put the video and audio together, but I could not get precise enough to sync the video with the audio.
Step 8: Save file
Make sure to save the video in whatever program you use as a project (in this case, a VideoPad Project). If there is a mistake in the video after you export, you cannot go back and fix it if you do not save it as a video project. You will have to start all over.
Once you save your finished video as a VideoPad Project, click the Export Video button at the top and click Video File.
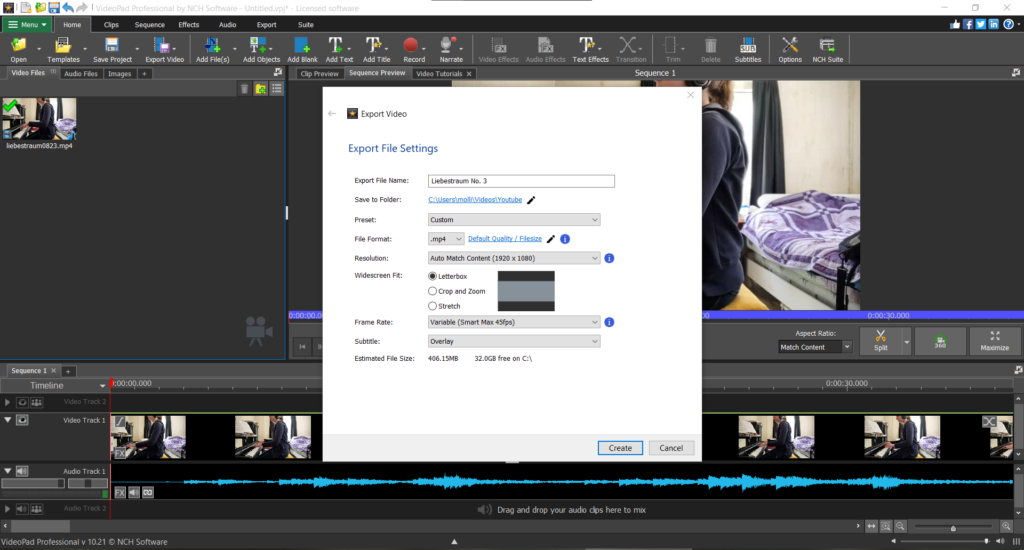
The video will then save and you can view it afterwards.
If you have any questions, comment below or DM me on social media. All my social media links are in the menu at the bottom of the page.

0 Comments